Overview
Part 1 - The Basic Set Up (github | preview)
Part 2 - The Board and Pieces
Part 3 - Player Movement and Collision Detection
Part 4 - SRS Guidelines: Spawn Orientation, Basic Rotation, and Wall Kicks
Part 5 - Automatic Falling and Clearing Lines
Part 6 - Next Piece, Levels, Lines, Score, and Statistics (Coming Soon)
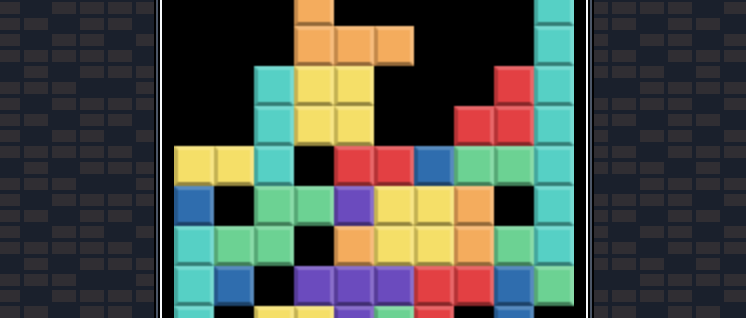
Ah, the classic game of Tetris. In this tutorial, we are going to do our best to recreate this game using Svelte. When we are through we will have a fully functioning game with points and levels. We'll use Svelte components to display all our graphics and Svelte stores to handle all our data.
With this tutorial, the general assumption is that you have a working knowledge of Svelte. If anything is confusing the Svelte tutorial and API docs are a great resource to catch up.
Let's get started!
Project Setup
Before we can do anything we need a few basics. Notably our front-end framework of choice - Svelte - as well as some Javascript utilities and etra npm packages.
Install Svelte
Let's start with a vanilla install of Svelte.
npx degit svelte/template svelte-tetrisThis clones the default svelte starter template into a directory called svelte-tetris. We can now cd into that directory and install dependencies.
cd svelte-tetris && npm iAfter that, open the folder into your editor of choice and npm run dev to see what we got:

Update Boilerplate
Now we can remove some boilerplate and get our hands dirty. Update the main.js and App.svelte files:
src/main.js
import App from './App.svelte'

const app = new App({
  target: document.body,
})

export default app
src/App.svelte
<main>
  <h1>Svelte Tetris!</h1>
</main>

<style>
  main {
    text-align: center;
    padding: 1em;
    max-width: 240px;
    margin: 0 auto;
  }

  h1 {
    color: #ff3e00;
    text-transform: uppercase;
    font-size: 4em;
    font-weight: 100;
  }

  @media (min-width: 640px) {
    main {
      max-width: none;
    }
  }
</style>
Javascript Helper Utilities
Our project will need some simple Javascript utilities. Usually this is something we could grab Lodash for, but I thought I would just write my own utilities based on the Lodash equivalents. To help navigate those waters, the following resources helped out:
In total, we will create the following utilities:
- inRange - Checks if a number is between two other numbers.
- times - Calls a function a certain number of times and returns an array of the results of each invocation.
- constant - Creates a function that returns constant value.
- partial - Create a new function that calls a provieded function with supplied arguments prepended to the arguments it receives.
- lessThan - Checks to see if one number is less than another.
Create a file called utils.js in the src directory and copy the following code:
src/utils.js
/**
 * Checks if n is between start and up to, but not including, end.
 * If end is not specified, it's set to start with start then set to 0.
 * If start is greater than end the params are swapped to support negative ranges.
 *
 * @param {Number} num - The number to check.
 * @param {Number} [start=0] - The start of the range.
 * @param {Number} end - The end of the range.
 * @returns {Boolean} true if number is in the range otherwise false.
 */
function inRange(num, start = 0, end) {
  if (end === undefined) {
    end = start
    start = 0
  }
  return num >= Math.min(start, end) && num < Math.max(start, end)
}

/**
 * Invokes the iteratee n times, returning an array of the results of each invocation.
 *
 * @param {Number} n - The number of times to invoke the iteratee function.
 * @param {Function} [func = i => i] - The function invoked each iteration.
 * @returns {Array} The Array of results.
 */
function times(n, func = i => i) {
  return Array.from({ length: n }).map((_, i) => func(i))
}

/**
 * Creates a function that returns value.
 *
 * @param {*} value - The value to return from the new function.
 * @returns {Function} The new constant function.
 */
function constant(value) {
  return function() {
    return value
  }
}
/**
 * Creates a function that invokes func with boundArgs prepended to the arguments it receives.
 *
 * @param {Function} func - The function to partially apply arguments to.
 * @param  {...any} boundArgs - The arguments to be partially applied.
 * @returns {Function} Returns the new partially applied function.
 */
function partial(func, ...boundArgs) {
  return function(...remainingArgs) {
    return func(...boundArgs, ...remainingArgs)
  }
}

/**
 * Checks if a is less than b.
 *
 * @param {*} a
 * @param {*} b
 * @returns {Boolean} Returns true if value is less than other, else false.
 */
function lessThan(a, b) {
  return a < b
}

export { inRange, times, constant, partial, lessThan }
Additional npm Packages
Along the way we will need the assistance of some external npm packages to make things easier. We will need to clone some arrays and objects and since they will be deeply nexted we will make use of a tiny (366B) and fast utility to "deep clone" them called klona. In addition, we'll make use of a utility that will track the keys being pressed aptly called pressed.js.
npm i klona pressed -DGlobal Styles
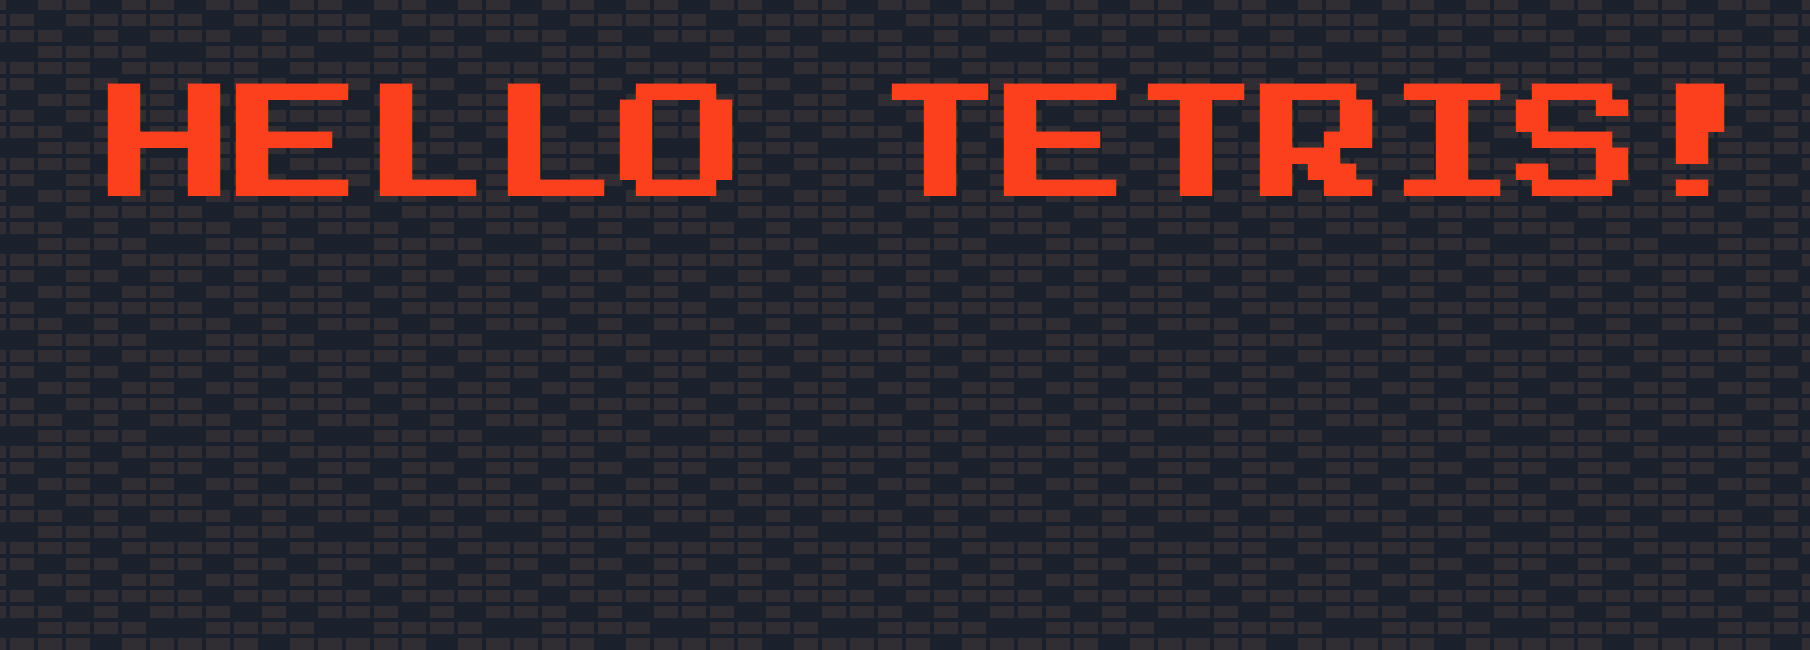
Nothing too crazy here. We're just going to give our app a block pattern background and a new 8-bit font.
First the font. We are using the Google Font Press Start 2P to give our game an old school NES look.
The background pattern was supplied by Hero Patterns by Steve Schoger. We snagged the Signal pattern to give the background a Tetris like wallpaper.
We'll include these and any additional body styles in our head using the special <svelte:head> element. The <svelte:head> element inserts elements inside the of the document. This way we don't have to muck around with our index.html or global.css.
Place this new code anywhere in App.svelte (though I prefer between the script and template).
src/App.svelte
<svelte:head>
  <link
    href="https://fonts.googleapis.com/css2?family=Press+Start+2P&display=swap"
    rel="stylesheet"
  />
  <style>
    body {
      background-color: #1a202c;
      color: #f7fafc;
      background-image: url("data:image/svg+xml,%3Csvg width='84' height='48' viewBox='0 0 84 48' xmlns='http://www.w3.org/2000/svg'%3E%3Cpath d='M0 0h12v6H0V0zm28 8h12v6H28V8zm14-8h12v6H42V0zm14 0h12v6H56V0zm0 8h12v6H56V8zM42 8h12v6H42V8zm0 16h12v6H42v-6zm14-8h12v6H56v-6zm14 0h12v6H70v-6zm0-16h12v6H70V0zM28 32h12v6H28v-6zM14 16h12v6H14v-6zM0 24h12v6H0v-6zm0 8h12v6H0v-6zm14 0h12v6H14v-6zm14 8h12v6H28v-6zm-14 0h12v6H14v-6zm28 0h12v6H42v-6zm14-8h12v6H56v-6zm0-8h12v6H56v-6zm14 8h12v6H70v-6zm0 8h12v6H70v-6zM14 24h12v6H14v-6zm14-8h12v6H28v-6zM14 8h12v6H14V8zM0 8h12v6H0V8z' fill='%23302e33' fill-opacity='1' fill-rule='evenodd'/%3E%3C/svg%3E");
      font-family: 'Press Start 2P', cursive;
      box-sizing: border-box;
    }
    *,
    ::before,
    ::after {
      box-sizing: border-box; /* 1 */
    }
  </style>
</svelte:head>
The app now has a repeating background and 8-bit font.
Scaffold Initial Components
Inside our src folder make two new folders - containers and components. We'll start with all our game containers. These will house most of the logic and general display of the major parts of our game.
Our main container is called Tetris.svelte. This will hold all the individual pieces of our game.
src/containers/Tetris.svelte
<script>
  // components
  import Statistics from './Statistics.svelte'
  import Lines from './Lines.svelte'
  import Board from './Board.svelte'
  import Score from './Score.svelte'
  import NextPiece from './NextPiece.svelte'
  import Level from './Level.svelte'
</script>

<div class="game">

  <section class="stats">
    <Statistics />
  </section>

  <section>
    <Lines />
    <Board />
  </section>

  <section class="meta">
    <!-- SCORE -->
    <Score />
    <!-- NEXT PIECE -->
    <NextPiece />
    <!-- LEVEL -->
    <Level />
  </section>
</div>

<style>
  .game {
    max-width: 56rem;
    display: grid;
    grid-template-columns: 220px auto 200px;
  }
  section {
    display: flex;
    flex-direction: column;
  }
  .stats {
    align-items: flex-end;
  }
  .meta {
    align-items: flex-start;
  }
</style>
In general this imports all the other containers and sets up a simple 3-column grid. The left and right column hold meta information about the game and the center will be the main board.
Before we get all the other containers set up, we're going to create a Display component shell inside our components folder. This is basically the styling for a box that holds the containers.
src/components/Display.svelte
<div class="outer">
  <div class="inner">
    <div class="container">
      <slot />
    </div>
  </div>
</div>

<style>
  .outer {
    display: flex;
    align-items: center;
    justify-content: center;
    padding: 1px;
    border: 1px solid #000;
    border-radius: 4px;
    background-color: #4a5568;
  }
  .inner {
    display: flex;
    align-items: center;
    justify-content: center;
    width: 100%;
    height: 100%;
    padding: 1px;
    border: 1px solid #000;
    background-color: #f7fafc;
    border-radius: 1px;
  }
  .container {
    display: flex;
    justify-content: center;
    width: 100%;
    padding: .25rem;
    background-color: #000;
  }
</style>
Now lets make the other container components.
src/containers/Statistics.svelte
<script>
  import Display from '../components/Display.svelte'
</script>

<Display>
  <span>Statistics</span>
</Display>
src/containers/Lines.svelte
<script>
  import Display from '../components/Display.svelte'
</script>

<Display>
  <span>Lines - 002</span>
</Display>
src/containers/Board.svelte
<script>
  import Display from '../components/Display.svelte'
</script>

<Display>
  <h2>Board</h2>
</Display>
src/containers/Score.svelte
<script>
  import Display from '../components/Display.svelte'
</script>

<Display>
  <div class="scoreboard">
    <span>Score</span>
    <span>000162</span>
  </div>
</Display>

<style>
  .scoreboard {
    display: flex;
    flex-direction: column;
    align-content: center;
  }
  span {
    display: block;
  }
</style>
src/containers/NextPiece.svelte
<script>
  import Display from '../components/Display.svelte'
</script>

<Display>
  <span>Next</span>
</Display>
src/containers/Level.svelte
<script>
  import Display from '../components/Display.svelte'
</script>

<Display>
  <span>Level 002</span>
</Display>
Each of these just sets up placeholder text inside our Display shell to get an idea of the general placement of things.
Finally import and add our Tetris container to our App file and update our styles to center it on screen.
src/App.svelte
<script>
  import Tetris from './containers/Tetris.svelte'
</script>

<svelte:head>
  <link
    href="https://fonts.googleapis.com/css2?family=Press+Start+2P&display=swap"
    rel="stylesheet" />
  <style>
    body {
      background-color: #1a202c;
      color: #f7fafc;
      background-image: url("data:image/svg+xml,%3Csvg width='84' height='48' viewBox='0 0 84 48' xmlns='http://www.w3.org/2000/svg'%3E%3Cpath d='M0 0h12v6H0V0zm28 8h12v6H28V8zm14-8h12v6H42V0zm14 0h12v6H56V0zm0 8h12v6H56V8zM42 8h12v6H42V8zm0 16h12v6H42v-6zm14-8h12v6H56v-6zm14 0h12v6H70v-6zm0-16h12v6H70V0zM28 32h12v6H28v-6zM14 16h12v6H14v-6zM0 24h12v6H0v-6zm0 8h12v6H0v-6zm14 0h12v6H14v-6zm14 8h12v6H28v-6zm-14 0h12v6H14v-6zm28 0h12v6H42v-6zm14-8h12v6H56v-6zm0-8h12v6H56v-6zm14 8h12v6H70v-6zm0 8h12v6H70v-6zM14 24h12v6H14v-6zm14-8h12v6H28v-6zM14 8h12v6H14V8zM0 8h12v6H0V8z' fill='%23302e33' fill-opacity='1' fill-rule='evenodd'/%3E%3C/svg%3E");
      font-family: 'Press Start 2P', cursive;
      box-sizing: border-box;
    }
    *,
    ::before,
    ::after {
      box-sizing: border-box; /* 1 */
    }
  </style>
</svelte:head>

<main>
  <Tetris />
</main>

<style>
  main {
    display: flex;
    justify-content: center;
    padding: 1rem;
  }
</style>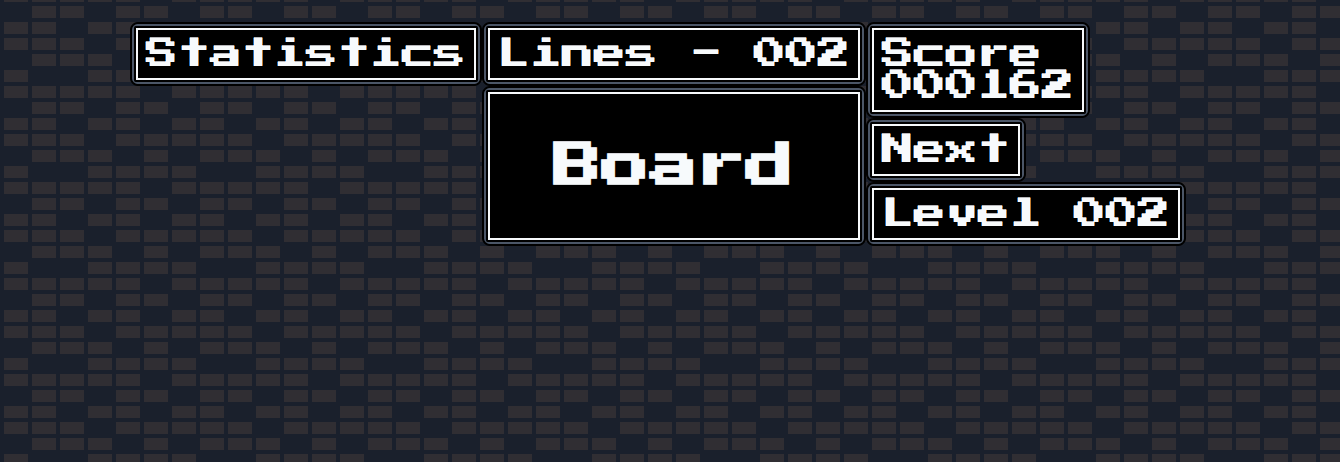
Wrapping Up
We have a basic wirframe sketched out of an old school tetris game! In the next installment of this series we will introduce the two basic building blocks of Tetris - the board and the pieces.
Part One - The Basic Setup (github | preview)
Part Two - The Board and Pieces
Part Three - Player Movement and Collision Detection
Part Four - SRS Guidelines: Spawn Orientation, Basic Rotation, and Wall Kicks
Part Five - Automatic Falling and Clearing Lines
Part 6 - Next Piece, Levels, Lines, Score, and Statistics (Coming Soon)